...from conception to marketplace for inspired writers who want to be authors Let's go with the 'sculpting a wooden masterpiece' analogy...starting with chainsaws and axes Writing your first draft is simple, really. Just draft, draft, draft, research. Outline. Research, draft, draft, draft. Don't worry about what your writing at this point. (Seriously. You probably won't keep half of it.) Pocket Knives and Chisels Revise, edit, revise, and revise to your personal liking. 180 grit Sandpaper Send your manuscript to the first beta reader for opinions on overall plot structure, character development, understandability, and general likability. Revise accordingly. More drafting if necessary to fill in the plot-holes and clear up any confusions. Edit, edit, edit. Make sure every scene and character interaction has a solid purpose.  800 grit Sandpaper Send your manuscript to a second beta reader for plot content and character/story arcs (to see if the first round of issues have been taken care of). Be aware of too many cooks in the kitchen. Revise and edit accordingly. Try not to lose sight of your original story idea--but do listen to editing comments with an open mind. Especially if you hear the same thing from different sources. The more extensive your changes are, the more you should consider repeating this process with additional beta readers. AT THIS POINT... You might be thinking about seeking an agent or publisher. That's okay, but your chances might be a tad better if you proceeded with an actual proofreader before you do. Still, an editor, agent, or publisher will most likely do a few more rounds of content editing before moving forward with a final proofreader. It's all part of the process and quite normal. :-)  Diamond Polish Send your manuscript to an alpha reader for a final round of line editing (proofreading)*. This person will (hopefully) keep an eye out for awkward phrasing and possible plot holes (if you’re lucky), but the majority of his/her effort will be focused on punctuation and grammar. The technical stuff. Correct any issues he/she finds (without altering character ‘voice’), and do your absolute best to not make any changes that could potentially add more errors and require an additional final edit. *You would think by now, that every possible error has been spotted by your incredibly talented and loyal beta readers, but you’d be wrong. If you plan to self-publish, do NOT risk leaving errors for your readers to find. Because one review implying that your book should have been edited (after ALL that work!) will not only stab you in the heart, but your book’s heart as well. You can always update and republish with apologies to readers, but you can't undo those reviews or prevent people from making assumptions based on those reviews. A few more important things to remember in this stage: Back Cover Description (draft, edit, revise, test, repeat), Author Bio, Dedication, and Acknowledgments.  The Showcase and Gallery No matter how much time, effort, and money you’ve invested in your masterpiece, the way you present it to the world can make it or break it. Cover Art Your amazing story WILL be judged by the cover, even if it’s NOT politically correct to judge a book by its cover. Just sayin’. Interior Formatting I still see books on my kindle where entire chapters flow as single paragraphs, whether different people are speaking or not. I can only assume it’s a formatting glitch rather than an author error, or an "automated translation" file that went awry. It’s like those memes on Facebook saying, “If you can read this, you’re in the 1% who can!” Whatever. My free time is far too valuable to put THAT much effort into reading for personal enjoyment. As a reader, I’d be asking for a refund and I may or may not leave a disappointing review. Promo Graphics There are good graphics that entice people to click on something (or at least read what’s written), and ho-hum graphics that people don’t even notice when scrolling through the news feeds. Be super careful about what you use to promote your book, or what you use to represent a quote from a character. The impressions you make DO matter. LAST BUT NOT LEAST... Toward the final editing stages of your book (because many of the things on this list must be scheduled several months in advance), you should be considering plans for the following:
Most readers (unless they are authors) will never know how much work goes into creating and producing a finished novel. There will always be that ONE error that no one caught...that ONE person who feels obligated to tell the world your research must have been done by a 1st grader...and that ONE reader who checks in every month to see if the next book in the series is published yet, making it all worthwhile. Write because you love it, no matter what the income is.
Write because you are driven by a passion that can't be stopped. *** Happy New Year, and good luck with your 2017 writing goals! Cheers, :-) Toni Kerr
0 Comments
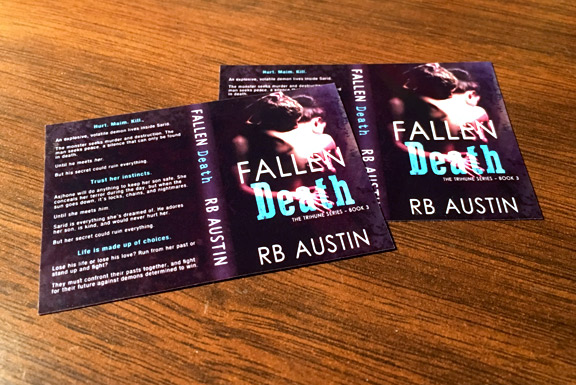
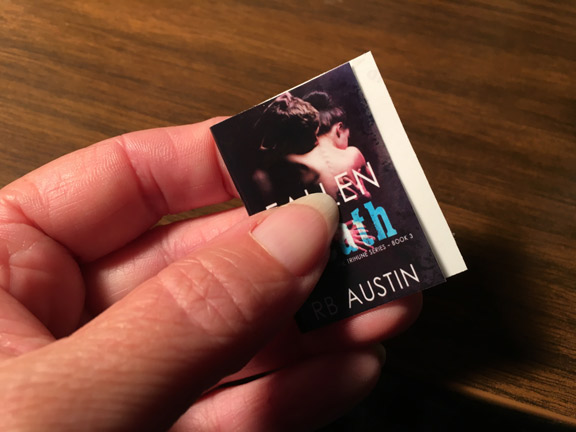
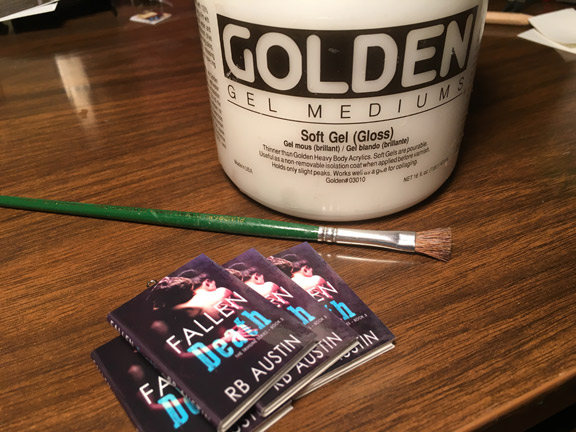
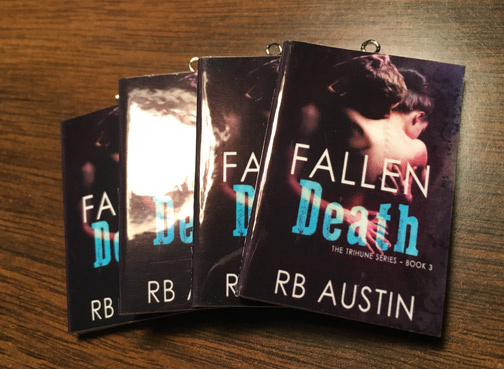
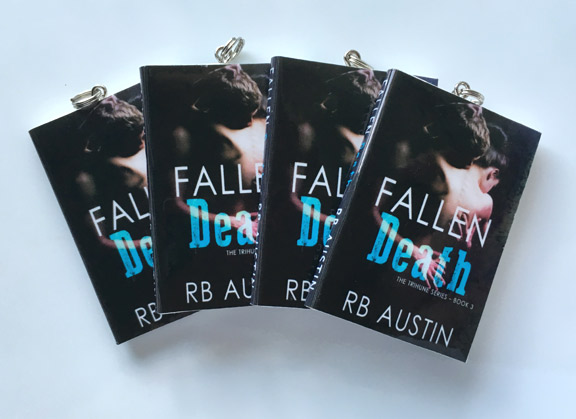
 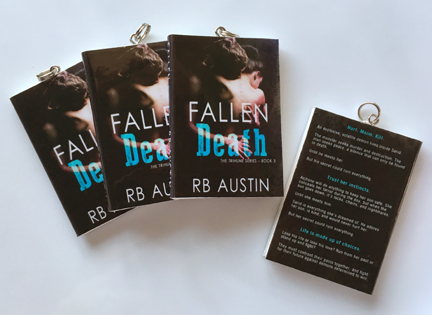 Learn the secrets behind making these priceless Mini-Book Charms! Over the past few years, I've had the pleasure of meeting so many amazing people in this crafty business. I've been part of book launches, keepsake collections, and my personal favorite: gifts to spouses. The charms have been put on necklaces, bookmarks, key chains, convention IDs, Christmas ornaments, wine glass tags, and crafted into many creative things (like book mobiles!) Since I've gotten so busy with book design work, I've decided to put this crafting aside and share what I've learned about the process. Anyone can make them - it just takes time. If you're SERIOUS about making these, |
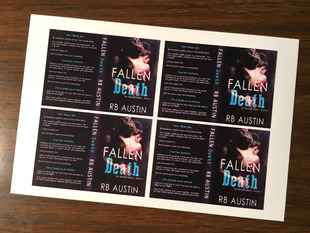
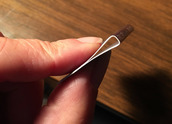
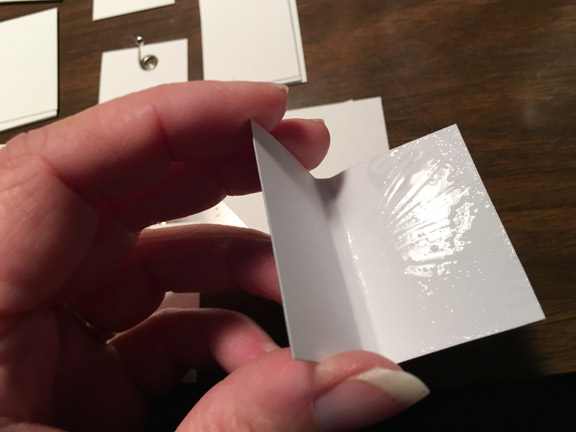
 | Now that your covers are printed, give the ink at least 30 minutes to dry. Be very aware of dust and fingerprints at this stage. In fact, wipe down your work space BEFORE you print, and make sure you're not wearing a fabric that sheds when you move. ONE piece of lint can ruin the whole book. (Depending on how picky you are - I tend to be very picky.) If you see lint/dust on your cover, wipe it off gently with micro-fiber fabric or soft cotton. DON'T USE YOUR FINGERS! You'd be surprised how the faintest touch can leave a permanent smudge. Next, trim your covers to workable sizes. DO NOT trim them all the way to the image - wait until they're sealed before you make "final" cuts. -- Scotch tape is Acid Free acrylic sheeting. How cool is that!! I've tried many "ways" to apply the tape, but this what I've found works best for me. |
 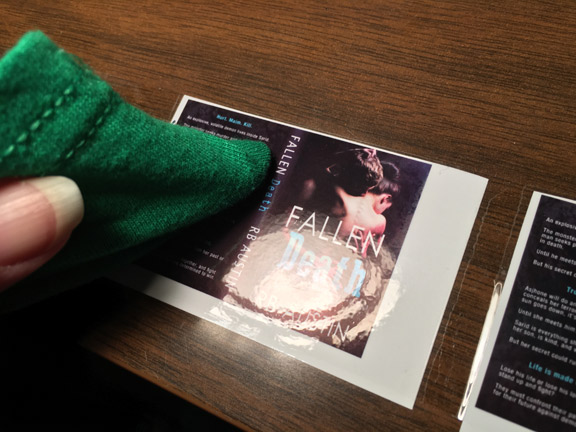    | Your goal is to put tape over the entire image without creating wrinkles or entrapping dust particles. You can do this any way you choose. For me, I like to lay the tape on my work space sticky-side up.
|
STEP THREE:
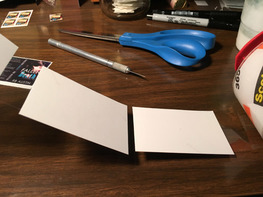
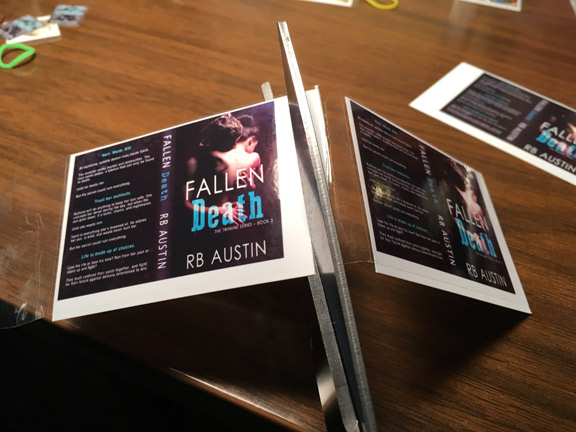
Fold the Cover, Cut the Paper
  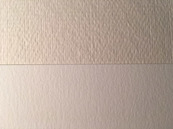  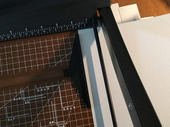 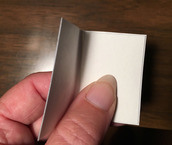 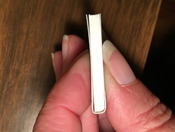 | Before you commit to any serious folds lines, make sure the top and bottom edges line up with each other, and that the front and back sides are parallel (They should NOT line up with each other, because of the spine). Do not make a solid fold... just bend the paper enough to create a slight corner. Trust me on this. A rounded spine allows for more flexibility when you start adding the interior paper. Choosing the right watercolor paper is important. As I said before, you want a heavy weight (such as 140#), NO texture, and make sure it's Acid Free. If it's not Acid Free, your pages will turn yellow and your photographic paper will break down and shift colors within a few years. Don't waste your time with heavily textured paper. The texture will emboss itself on your cover when you put it in the press. (or when you put it under a pile of heavy books) Cutting the paper sounds easy enough, but there are some tips and tricks I've learned:
|
STEP FOUR:
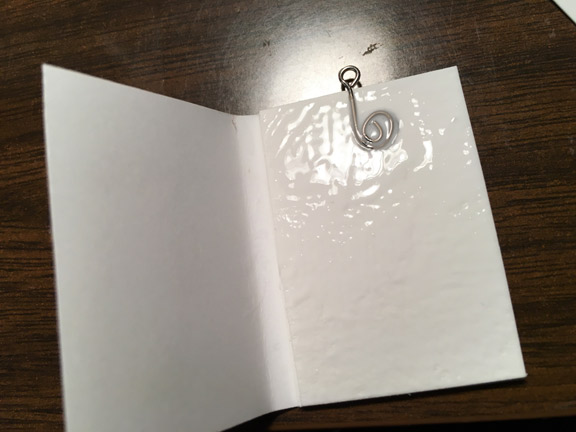
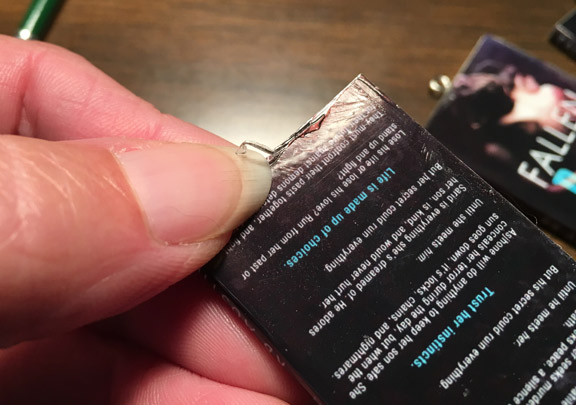
Making the Channel for Hardware
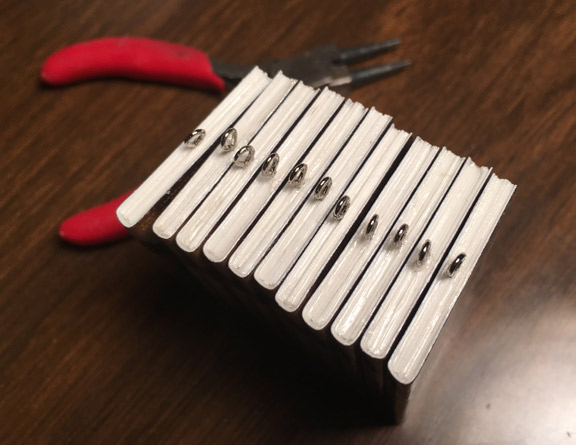
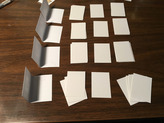 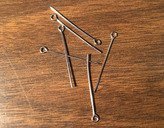 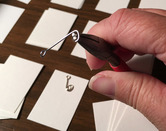 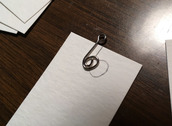  | I like to start by laying out 3-4 books at a time. Pages are divided into 3 groups. This particular book has 8 pages, so the groups contain 3, 1, 4 pages. This middle page is where the eye hook will go, but first we need to make some adjustments. These eye hooks (pictured) are 1.25 inches long. FYI, don't go with the cheapest ones you can find - the finish doesn't hold up. You can EASILY use longer eye hooks and trim them down with wire cutters. 1.5 inches works perfectly fine.
The width of the watercolor paper is dang close to being exactly the same width as the eye hook. If you are using paper that isn't quite thick enough, you may have to cut a channel in two pages to hold the eye hook in place. If you end up with an even number of pages, put the higher number of pages in front of the hook. (that way, if your hardware makes a slight bump or dent, it'll show more on the back than it does on the front. 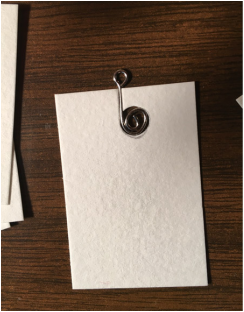 |
STEP FIVE:
Glue
     |
|
STEP SIX:
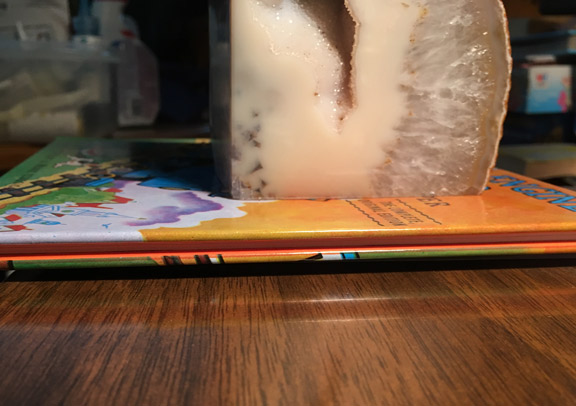
Press Overnight
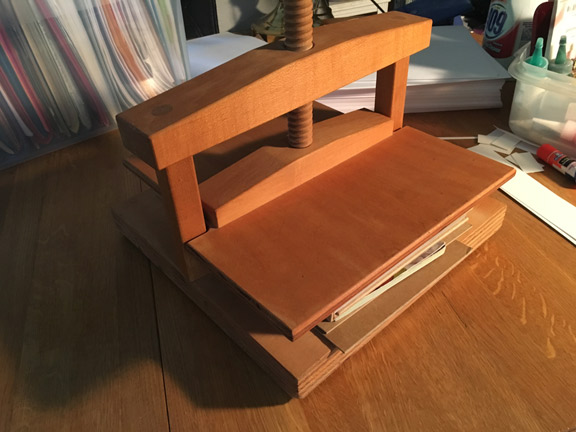 | I can't stress enough how important it is to work with CLEAN surfaces when pressing your book - even when pressing in a temporary situation. Inks on scratch paper can get pressed into your cover. Scratches on board books can cause unwanted textures in your cover. Globs of glue from the day before can make big dents in your cover. (If you used a piece of computer paper and a speck of glue oozed out and dried...then you use the same page for the next round of books.. you'll press that bump right into your cover. Books can be re-pressed to fix certain things (this works 80% of the time), but once the glue is dry, there's not a lot you can do about anything. I have an old flower press that I got from a neighbor's garage sale. It's awesome for this job. However, a stack of books works just as well. Just make sure the heavy books are pressing evenly on your book charms. If your stack isn't balanced properly, your book will be pressed with odd angles applied. Spread your books out for a better foundation, and feel free to put book charms between books if you have a lot of volume - there's no need to have more than one tower. Again, make sure you protect your "pressing" books by placing a piece of plain paper between the charms and books. Otherwise, they will surely get a little glue on them, and then the glue will dry and cause problems later. I keep the books in a pressed state overnight. This allows plenty of time for the glue to dry. If you pull the charms out too soon, the glue on the edges might be dry, but it's still wet in the middle. As the middle dries, the paper shrinks and causes the book to warp. If this happens, you can try pressing the book again to straighten things out. |
STEP SEVEN:
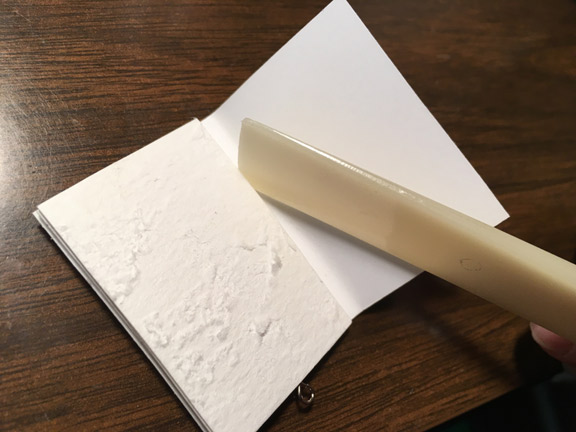
Sealing the Pages
      | After the book charms have been removed from the press, look carefully at all the pages and scrape away any remaining glue that has bubbled out. An X-acto knife is helpful for this, but I find that prying small beads of glue with my nails works too. Tips:
Drying the Acrylic
|
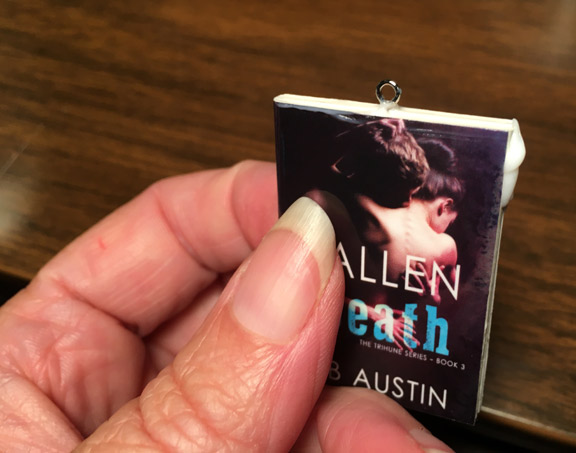
STEP EIGHT:
Final Touches
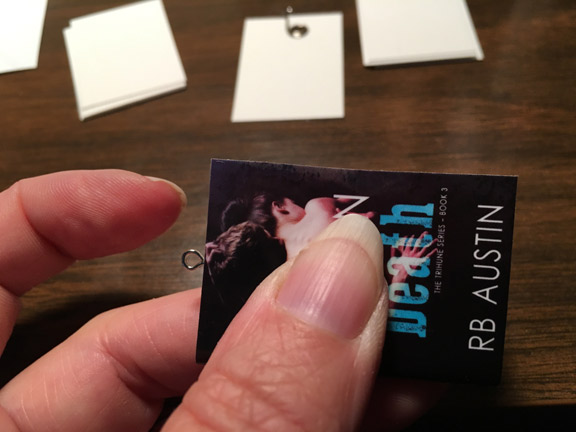
 | Now is the time to add additional jump rings. With these additional rings, you can then add key chain rings, earring clasps, other charms that go along with your theme. Have fun with it!! Browse around in the craft store and you'll be flooded with possibilities. I realize this post is long-winded, but these charms really are quite simple to make. I can tell you from my heart, and from hundreds of authors, these mini book charms ARE worth the effort. Maybe you don't want to make dozens to give away, but DO make them as a reward for your own accomplishments. I have a collection of my personal books hanging on my computer bag, and people ask me about them all the time. It's a wonderful conversation piece. If you have ANY questions about the process, leave me a comment and I'll be happy to share what I know. |

| I've had a lot of fun doing things I've never needed to do before, and I've even gained a few wins! (not really the point of these challenges, for me at least, but still pretty cool!) Here are the top things I've from these photoshop challenges: 1. Playing around in photoshop is called "Chopping". I did not know that! :-) |  |
2. My photoshop skills are good enough to pass on a very elementary level, but not anywhere close to what some of these people can do. (I'm not bashing myself, just making a factual observation.)
3. My ideas (thus far) lack humor, character, and storytelling. (Elements that rank higher than skill level, or so I hear). I guess I wasn't clear on the purpose of entries and how they're voted on. I was just challenging my own skills, and posting to keep myself accountable. (I'll have to start using my writer brain!)
4. I lack creative craftsmanship. There are times when I have a good idea, but lack the knowledge to make it happen, forcing myself to fall back on an easier idea. I can see how this could improve greatly with practice, so the thought is not discouraging.
5. I need to change my thought process from "what can I do with this [that's within my range of skills]?" to "What would be unexpected, clever, and/or funny?" And along this line, I have to really consider WHAT skills I want to develop and stay focused on what I'm trying to learn. Do I really need illustration skills? I'm not quite sure.
6. Working on a daily "chop" with a higher expectation in mind takes a lot longer than one hour (the time limit I set for myself). This is the biggest obstacle for me- I really don't have time. I have real work to do, and a million other things, and I have NOT forgotten the fans of my Makai series, asking about book 4. Still, I enjoy the creative energy these photoshop projects generate.
7. Every online community has their fair share of drama, and I feel bad that newcomers can see it. I can agree the quality of submissions is not what it used to be, back in the site's glory days (heck.. I won 3 in a row and my skills are truly minimal). So I'm torn, and embarrassed. While I don't believe my work compares to professionals (and clearly they are cream-of-the crop professionals), I do want to participate, learn, improve, and get feedback. Sometimes a vote is feedback enough to know I've done a decent job. And if I do the daily challenges without submitting finals, I know myself well enough to say I won't have reason to tough it out when things get tough. But that doesn't mean I MUST submit an entry every day, whether it's quality work or not. So it's time to be more selective with what I want to invest in.
Perhaps a year from now, I'll look back at these first 10 entries and have a good laugh. :-)
 |  |
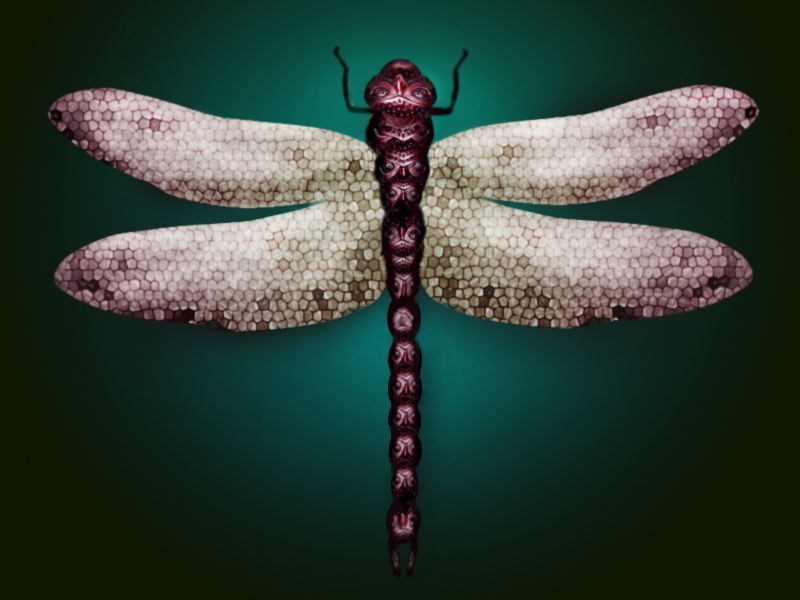
| This was a tough one... I knew what I wanted to do, and had to figure out how to make it happen. It took longer than I intended, but I'm glad I didn't listen to that nagging voice telling me there's no value in doing these challenges, that I have other things to do... This one really did teach me some new skills. |  |
| The most challenging thing about these missions is using only the given source. Normally, I'd just go out and find images to blend, or to use as backgrounds... So these challenges really are forcing me to be a more inventive. | 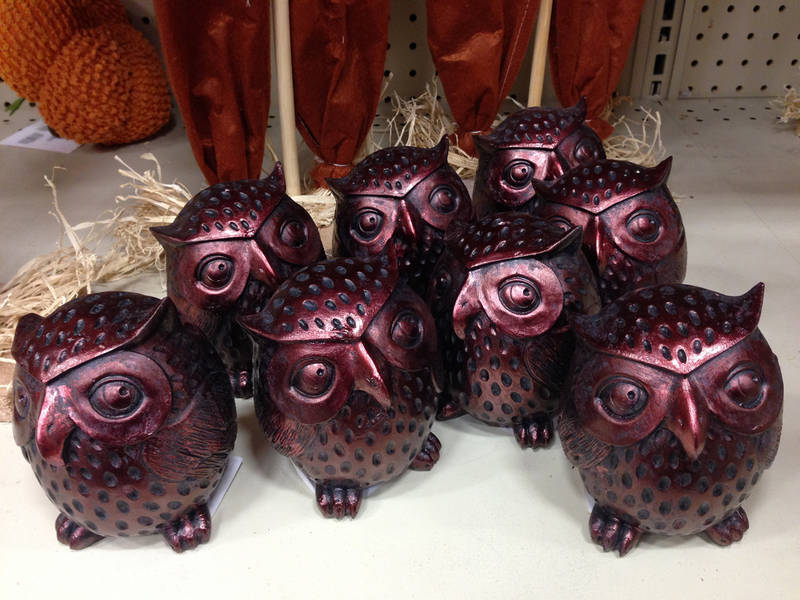 |
All right, I've had my fun. Time to get back to work. :-)

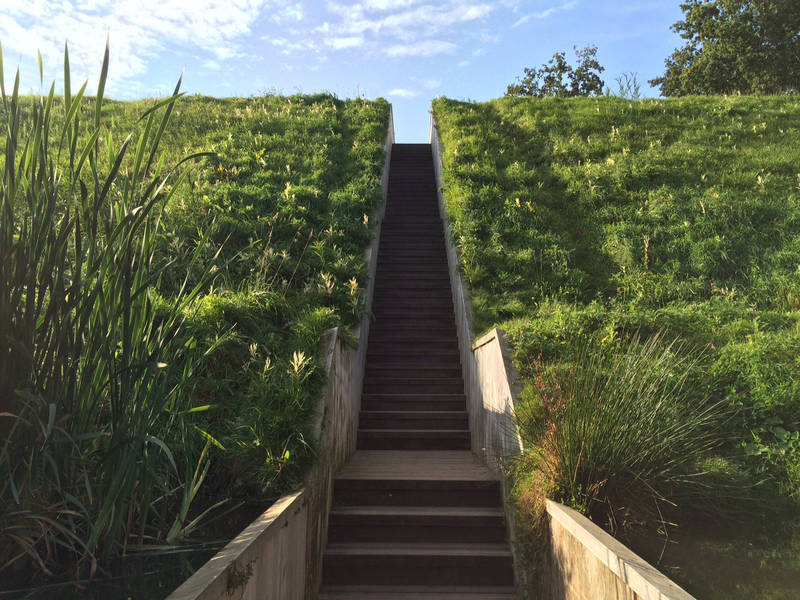
| What I learned most on this particular challenge is that you lose a LOT of quality when you "save for web" (for uploading restrictions to file size). I hadn't really noticed a huge loss of detail until now. :-/ |  |

I'm actually kind of happy with this one... The only thing I didn't create from the source image is the ground-- which was taken from photograph I took about a year ago while out at the ranch. But, today's entry has a prize on it.. so all the professional people came out of the woodwork to enter. Holy smokes there're a lot of talented people out there!It's a good reminder to set the bar a little higher.
 |  |
I actually did have a plan before I got started on today's challenge, but let me be honest and say it didn't work. At all. Not even close.
So, I went farther off track (because, trust me, nothing could possibly make it any worse), and then I added flames! (it was poetic at the time). By the end of my self-imposed time limit, instead of deleting the challenge and moving on with my life, I decided I kind of liked it! It's not something I would have done in the past (which is the entire point of these daily challenges). It's colorful, eye-catching (haha), and bizarre enough to get a second glance. Like hiding tasteless vegetables in yummy cupcakes.
I'm giving myself browny points for submitting this atrocity instead of deleting it. :-)
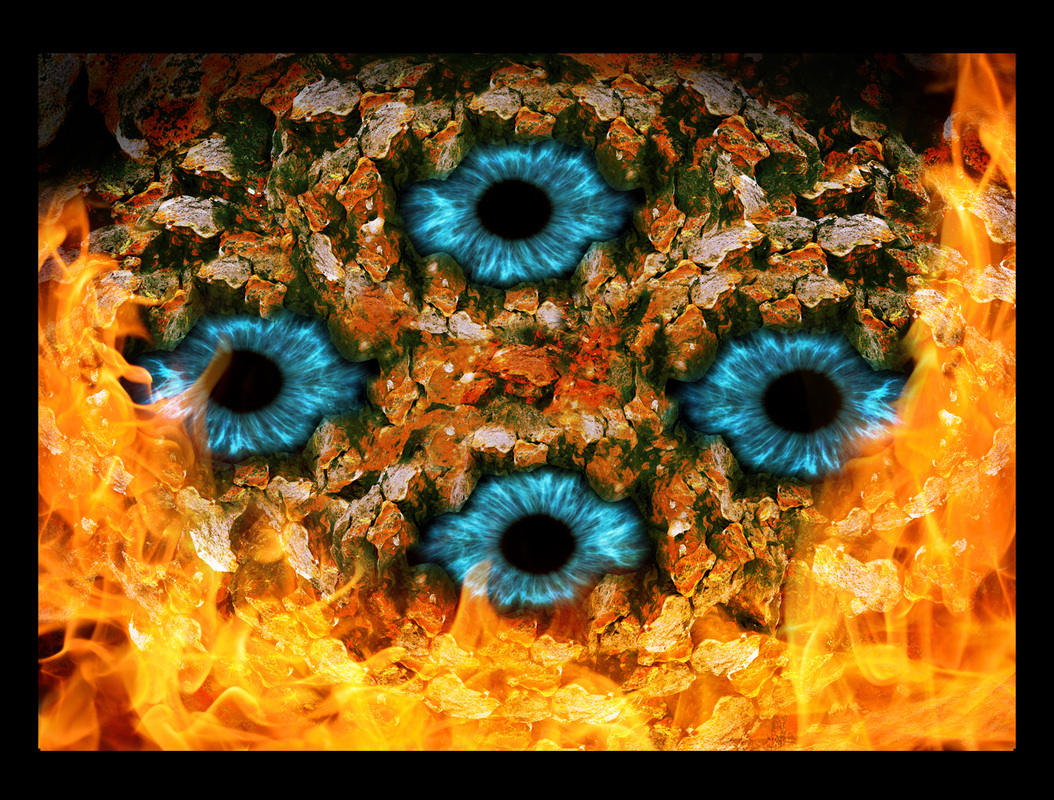
Eyepools of PurgatoryThis was the daily challenge original to work with: |  |
 | With the loss of a great artist sill weighing heavily in my thoughts, I dedicate today's photoshop challenge to Prince. May his music and soul live on and continue to inspire others. |

Toni Kerr
Outdoors. Moonlight. Mountains. Convertible. Dawn and Dusk. Beach. Anything creative. DIY White-cheddar Popcorn. Coffee. Salt.

Archives
December 2016
September 2016
May 2016
April 2016
Categories
All
For Authors
Formatting
Makai News
Photoshop Challenge
Tips
Tutorial
 RSS Feed